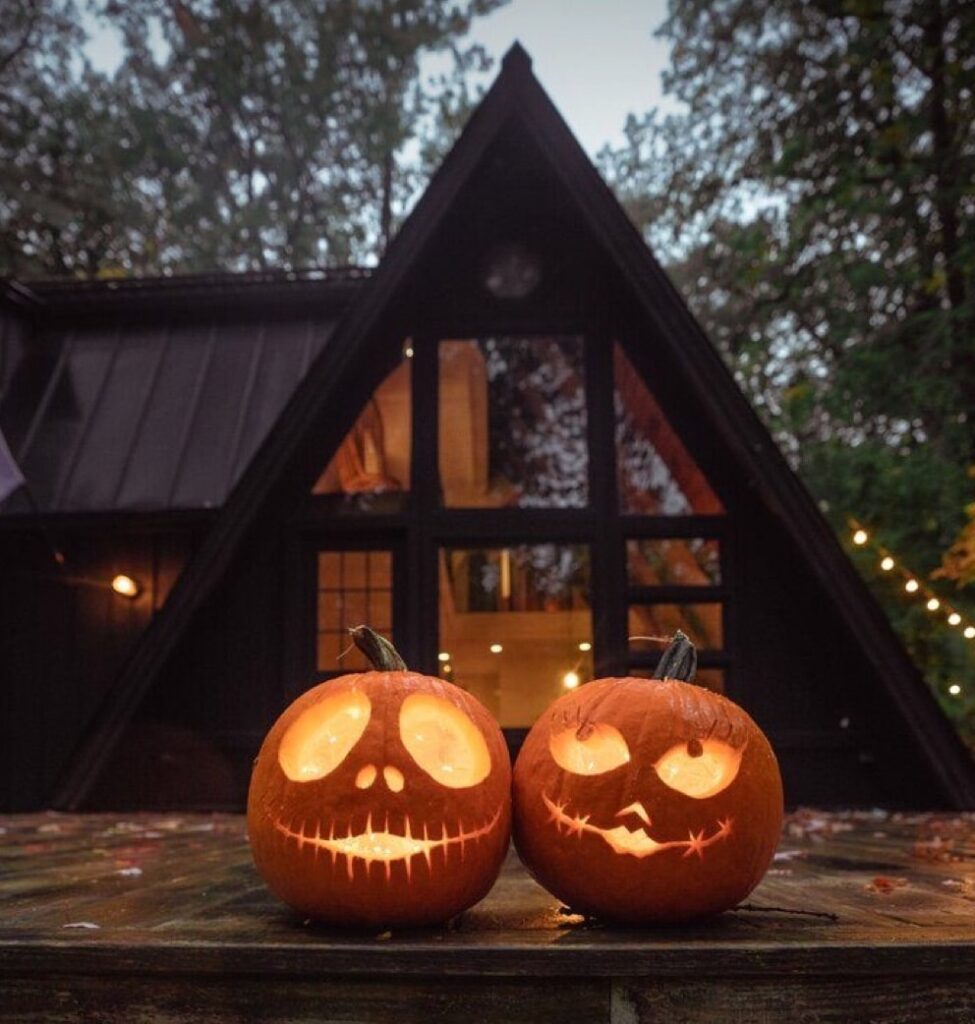
Welcome to the Spooky Season! It’s that magical time of year when the air tingles with the promise of Halloween and pumpkins become the stars of decor. Everyone adores a grinning Jack-o’-lantern, often wishing to keep them twinkling far beyond what might be considered, well, typical. So, we’ve embarked on a quest for the most enchanting pumpkin preservation tricks to help your carvings last a little longer.
The internet is rife with suggestions, from acrylic sprays and bleach to hairspray and petroleum jelly. But which potion reigns supreme? Today, we delve into five arcane methods to discover the most effective preservation spell. Along the way, we’ll share some tips to enhance your pumpkin’s longevity. Let’s begin our mystical journey!
Pumpkin Selection: Choosing Your Canvas
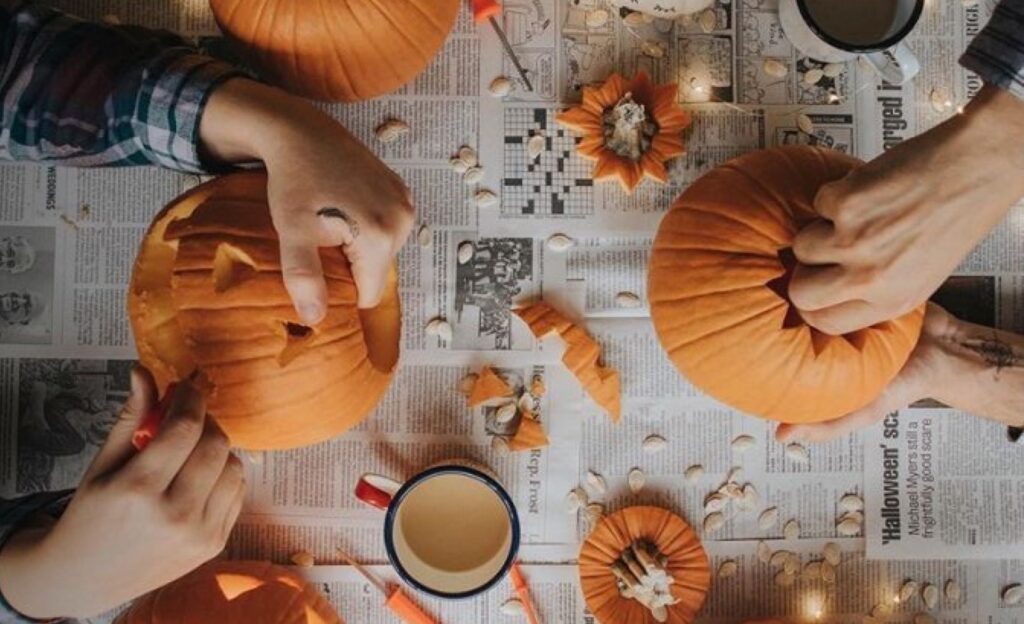
Seek out the freshest pumpkins for an enduring display. Visit a local farm or store, avoiding any with soft spots or blemishes. Once home, cleanse your pumpkin with an anti-fungal wash or a bleach solution. A bathroom cleaner with bleach is excellent for warding off external bacteria. Controversially, consider slicing the pumpkin from the bottom rather than the top—no need to keep the cut-out piece, and it improves airflow!
Cleaning out the insides, though daunting, is crucial. Use a hand mixer or a drill with a beater attachment to remove stubborn pulp and seeds swiftly. Remember, don’t discard the seeds—roast them for a delicious treat!
Pumpkin Carving
For longevity, less detailed designs work the best. No crime in doing a classic Jack-o’-lantern. Opt for an led candle when you’re ready to light it up. Not only is it safer than a real flame. It will also be kinder to your carved pumpkin.
Pumpkin Preservation Methods
Our strategy is to choose methods that will combat the two major enemies of Jack-o’-lantern health; mold and decay.1.Bleach Water Soak
That brings us to our first method: bleach water soak. Bleach kills mold spores on surfaces and is the most touted preservation method we found. Fill a tub with water and add one tablespoon of bleach per gallon of water, then just submerge the pumpkin for about an hour. Rotating every few minutes to cover all sides. Dry it off, and it’s ready to display.2.Saltwater Soak
Salt is often used as a food preservative so it would work on a pumpkin too. It’s also safe for kids pets and wild animals. It’s most effective as a mold preventative when dissolved in water so we are using one-half cup of salt per gallon of water. Just like the bleach, submerge this for an hour in the salt water, and then we’ll dry it off completely to display.3.Baking Soda
Baking soda not only prevents black mold but also absorbs moisture, and attracts mold. It is also kid and pet-friendly.For the baking soda method, combined two tablespoons of baking soda with two cups of water. Then transfer that into a spray bottle. After all, you can spray the pumpkins with this each day.
4.Tea Tree Oil
The other method is using tea tree oil which is a natural fungicide. This essential oil not only deters mold but also repels pests. Tea tree oil can be toxic to pets. So keep your pumpkin out of reach if you have a curious companion.
Use about one teaspoon of tea tree oil dissolved in two cups of water, and spray this on the pumpkin every day just like the baking soda.5.Vinegar
Our final method is vinegar. Vinegar is mild enough to be kid and pet-friendly but strong enough to kill about 82 percent of mold species. You can use undiluted white vinegar to give this method the best possible chance of success. Like the previous sprays, you can apply it to the pumpkin every day.

We try these five different techniques. After five days, here are the first results we observed!
Day 5
After five days, here’s what we found:
- Our bleach buddy is looking pretty fresh. It still looks like there is any mold inside.
- The salt one looks pretty good. We did not see any mold. These are the two we were expecting to do pretty well.
- Then the baking soda method. It looks pretty good from the outside. The inside is starting to get a little soft. Especially around the cut edges.
- The tea tree oil test. The cut edges still feel fresh. We are seeing a little bit of mold on the inside.
- The final one was the vinegar method. It has a ton of flies on it, and people say you catch more flies with honey than with vinegar but this is pretty gross. It’s looking pretty good still in terms of the integrity of the pumpkin but it also has a lot of flies and some mold on the inside.
Day 9 Check
- Mr bleach is going strong and there is no mold inside. Starting to cave in a bit but it still looks good, and the longer it sits the more white the cut edges get. There’s no mold on the cut edges as well. So that’s a win.
- Next, the salt solution. Starting to look very spooky and has lots of mold on the inside. Pretty grossed.
- This one is interesting, baking soda. The cut edges have seen better days but we have absolutely no mold on the inside of our baking soda pumpkin. So this does seem like a great mold preventative.
- What about the tea tree oil? The cut edges stay fresh. They look nice, but we have a bit of mold inside. But again, on the outside, he’s looking pretty new!
- Next up, the vinegar pumpkin. Because it is still full of fruit flies, we cannot overstate how disgusting this is. This one also has quite a bit of mold and flies. It also smells terrible. Goes to trash for sure!
Our Verdict: Most Effective Preservation Method
We would honestly say that baking soda and bleach are tied first. So the bleach method is pretty straightforward. We made bleach water and then soaked it for an hour.
Next, let it do its thing, and preserve the pumpkin well. The cut edges stayed dry. It did not grow much mold, although it does have a little bit of mold on the inside. However, the face of the pumpkin did degrade a little.
Bleach is a little more toxic to deal with than other methods. We think baking soda was the sleeper hit of this whole experiment. Well, the front of the pumpkin does look a little rough. There was no mold on the inside of the pumpkin this time. So that is a win.
The point of this experiment was really to isolate each method. To see how it performed independently. Now that we have all of this information. Our preferred pumpkin preservation method is the bleach water soak. The other one is the spray that contains a mix of baking soda and tea tree oil.
It is crucial that preserve, keep mold away, and keep cut edges fresh.
We hope these tips help extend the life of your pumpkin.


One Comment